
In this article, we will explain how to install a Free SSL certificate for WordPress and also on any other website.
What Is An SSL Certificate?
Internet is the place where all the users share a lot of their personal information in various ways, such as signing into a website, purchasing any product, creating free accounts, etc. But, are all these personal information safe. Not when a website is not encrypted. And, here comes the SSL (Secure Socket Layers). It issues a unique certificate to each website that provides encryption technology to secure the information shared through that particular website.
Sponsored by many companies including Facebook, Google, Mozilla, Internet Research Group has come up with a free SSL certificate solution that is known as Let’s Encrypt. It is the best free SSL certificate that is issued for the general public.
Benefits of SSL Certificate
- SSL certificate helps to protect sensitive information such as passwords, bank account details, card numbers, login credentials, etc.
- SSL certificates boost a website’s authentication.
- According to Google’s 2014 update, having an SSL certificate will boost your website’s ranking.
How to install Free SSL Certificate on WordPress
Process #1 – Let’s Encrypt SSL certificate installation using cPanel and Manual Verification (FILE)
- Go to www.sslforfree.com.
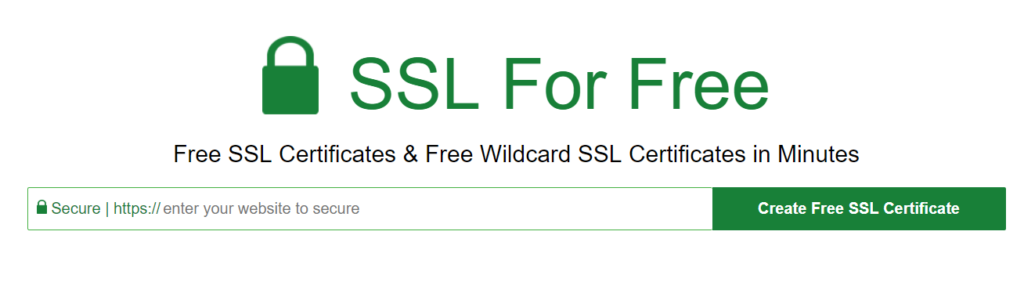
- Type in your domain name and click on Create Free SSL Certificate.
- Now, click on the option Manual Verification (File).

- In this step, click on Manually Verify domain.
- Now, come back to your cPanel and click on File Manager
- Download the following verification files
- Create a folder in your domain named ".well-known" if it does not already exist.
- Create another folder in your domain under ".well-known" named "acme-challenge" if it does not already exist
- Upload the downloaded files to the "acme-challenge" folder
- if the files do not show random alphanumeric characters or shows an error then recheck that you are uploading in the correct place. Also try viewing the page source (Right-click then click "view page source") of the above links to make sure nothing else shows up but the verification file contents. If you use IIS then you may have to change your server config so that files without an extension (or the wildcard MIME type) serves as text/plain. Contact your host if you are unsure.
- Click Download SSL Certificate below.
- After a successful download of your SSL certificate, the page will show you all the certificate files.
- Now, go to your cPanel and locate the option SSL/TLS and click on it.
- Now, click on Manage SSL Sites.

- Click on Install Certificate. That’s all. Your website is now safe and secure with SSL Certificate.
